
Summary
- The problem: every client sits in the same Xero list, so no partner can see their own overdue invoices without exporting the aged receivables report and filtering manually.
- The fix: create a Xero tracking category to label each client with a different partner at your firm.
- How it works: tracking is recorded at the invoice-line level, but Xero lets you set a default per contact, so once a partner is set on a specific client every new invoice inherits it automatically - it just won’t retag invoices raised before you set it.
- Once tagged, reporting is one filter away. Filter the aged receivables or Tracking Summary report by Partner to see each partner’s own book.
- In Trove, you can use the tracking category to create one chasing workflow per partner. Each partner’s clients get chased on their own schedule, with alerts routed to the right partner instead of buried in the firm-wide list.
What Xero tracking categories are and how they work
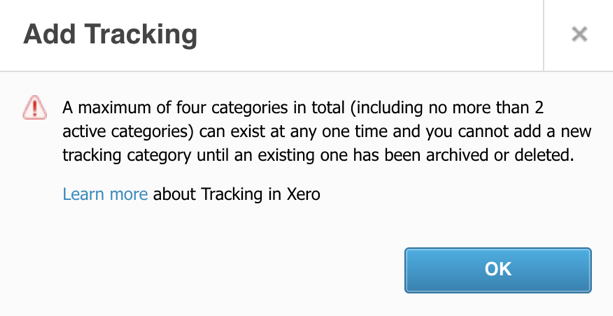
Tracking categories let you tag transactions in Xero so you can report on different parts of your business separately. You get up to two active categories per organisation and each one can hold up to 100 options.
Many companies use them for department or location. Accounting and legal firms often use a category to tag different accounts with a specific partner on the team.
Why split your client base by partner in Xero
Two reasons make this worth the setup time.
You can track accounts receivable by partner without the manual work. Once invoices are tagged, you can filter the aged receivables report by partner and see exactly what each partner’s book is owed, without exporting to a spreadsheet and sorting by client name. The number you actually care about - which clients each partner has to chase - is one filter away.
You can have a focused conversation with each partner. Instead of one all-hands debtors review where three-quarters of the list isn’t relevant to anyone in the room, you can sit down with each partner and look only at their clients.
How to split your customer base by partner with Xero tracking categories
Here’s the worked example. The steps are quick; the one thing to get right is making sure every client’s invoices carry the tag.
1. Create a “Partner” tracking category in Xero
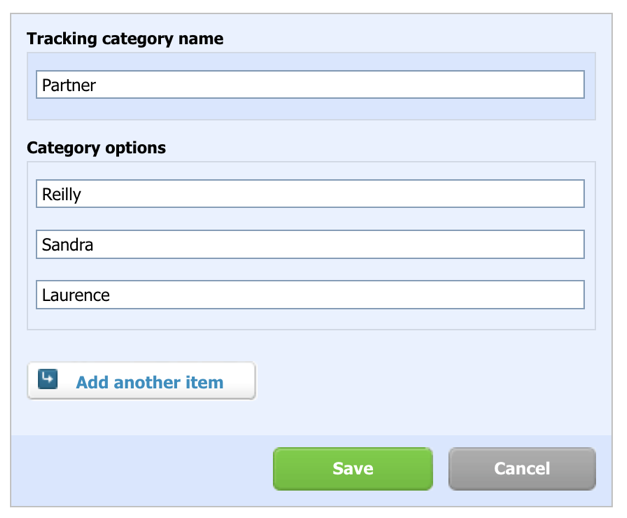
In Xero, go to Accounting > Advanced > Tracking categories, then click Add Tracking Category. Name it Partner.
Add one option for each partner, using consistent naming (for example first name, or initials, whatever your team will recognise). You can add or edit options later as people join or leave.
Xero’s own walkthrough covers the exact clicks if you need them: Xero’s guide to setting up tracking categories.
2. Tag each client’s invoices with the relevant partner
Tracking is recorded on the invoice line, but you don’t have to set it manually every time. Xero lets you set a default tracking option on the contact, so it pre-fills for new invoices automatically. To set this up:
- Open the client’s contact record
- Click “edit” and navigate to their Sales defaults
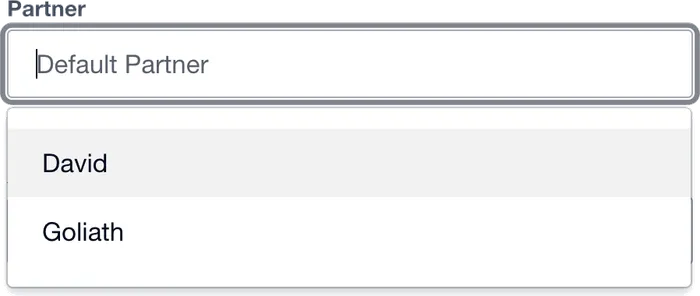
- Scroll down until you see the option to edit the client’s partner option and save
Now going forward every invoice you raise for that client in Xero will be pre-tagged with the right partner.
Two things to know before you rely on it:
- It only prefills on invoices raised in Xero. If a client’s invoices come in from another system - a billing or practice management tool, or the Xero API - check that system passes the tracking option through, or set the default there instead.
- It doesn’t retag existing invoices. Only new invoices pick up the default, so update any currently open invoices yourself (or use Xero’s find and recode) if you want your existing debtors tagged straight away.
The goal is that every invoice for a given client reliably carries that client’s partner tag. Once that’s true, everything downstream works.
3. Report on aged receivables by partner
With invoices tagged, filter the aged receivables report (or the Tracking Summary report) by your Partner category. You’ll get each partner’s outstanding balance and overdue invoices as their own view, ready for the conversation.
Using tracking categories to chase clients in separate workflows in Trove
Now you have clients and invoices cleanly split between partners in Xero. You can use this data to chase each partner’s clients in a separate workflow in Trove.
In Trove, you can use the filtering system to pull each partner’s clients into a separate workflow. Each partner’s clients can now get chased on a schedule that suits that book, and the reminders and internal alerts route to the right partner rather than to the customer. A partner sees what’s late under their name, gets nudged when something needs a personal call, and never has to wade through the rest of the firm’s debtors to find it.
It also means a partner can keep a lighter touch on the clients they’d rather handle themselves. Their workflow chases the routine ones automatically and flags the sensitive ones for them to pick up, instead of chasing everything the same way.
Setting up partner-based AR tracking and chasing, start to finish
One tracking category, one option per partner, and every invoice tagged, gives you partner-level visibility of AR in Xero. Point one Trove workflow at each partner option, and that visibility turns into chasing that runs itself, routed to the right person.
Trove connects to your Xero account in about 15 minutes and reads your tracking categories straight away, so you can point a workflow at each partner without any extra setup. You can start a free 30-day trial here, or book a demo if you’d like to see it set up first.