Support › Setup
Connect Xero account
Connect your Xero account to Trove in one click. Customers, contacts and invoices stay in sync across both systems, whether updates happen in Trove or Xero.
- Two-way sync that reads from Xero and writes updates back
- Customer, invoice and contact data synced in real time
- Publish Xero notes automatically when Trove sends emails
Available on all plans
How to connect your Xero account to Trove
Go to Settings and open Integrations
In Trove, go to Settings → Integrations. Under Invoices, click Set up integration to connect Trove to your accounting software.
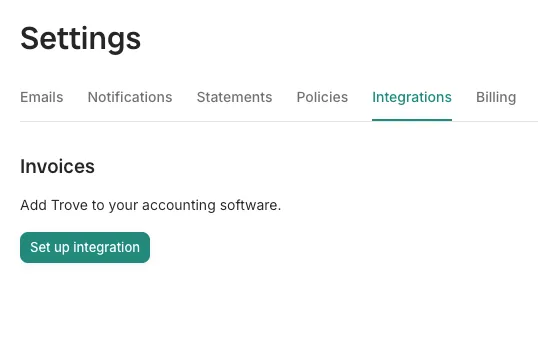
The Integrations tab under Settings, before Xero is connected. Connect to Xero and sign in
Click Connect next to Xero and sign in with your Xero account. Xero will ask you to confirm which organisation to connect and to approve read and write access, since Trove needs to write updates back as it chases.
Signing in to Xero and approving access. Choose whether to publish notes automatically
Turn on automatic notes if you want Trove to add a note in Xero whenever Trove sends a reminder. This can be helpful for users in Xero to keep an audit trail of customer communications. If an invoice does end up in debt collection, this audit trail is essential evidence.
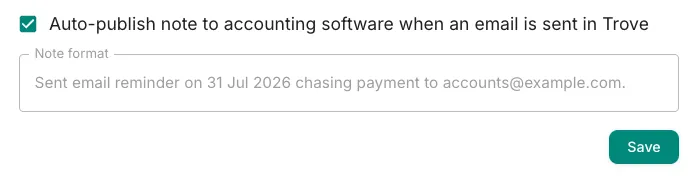
Turning on auto-publish notes. To turn this on, go to Settings > Integrations and select ‘Auto-publish notes’.
What plans include it
Available on all plans
This feature is part of Trove's core set and is included on all plans.